Now that Halloween has officially kicked off the holiday season, it’s time to start planning for Turkey Day. While you’ve got the cooking taken care of (no burnt side dishes, right?) Your kids can take care of the decoration aspect for your guests or just do something to stay occupied while you brave the kitchen. Either way, our Thanksgiving Crafts for Kids list is sure to make your little turkeys gobble.
1. Paper Bag Turkey
If your kids struggle to sit during craft time, this is the perfect craft for them. All you need is a paper bag, a couple of large feathers, some googly eyes, and some construction paper. This craft is self-explanatory; glue your googly eyes, feathers, and construction paper onto the bag to resemble a turkey. Feel free to include glitter and markers so your child can make a truly unique paper bag turkey.
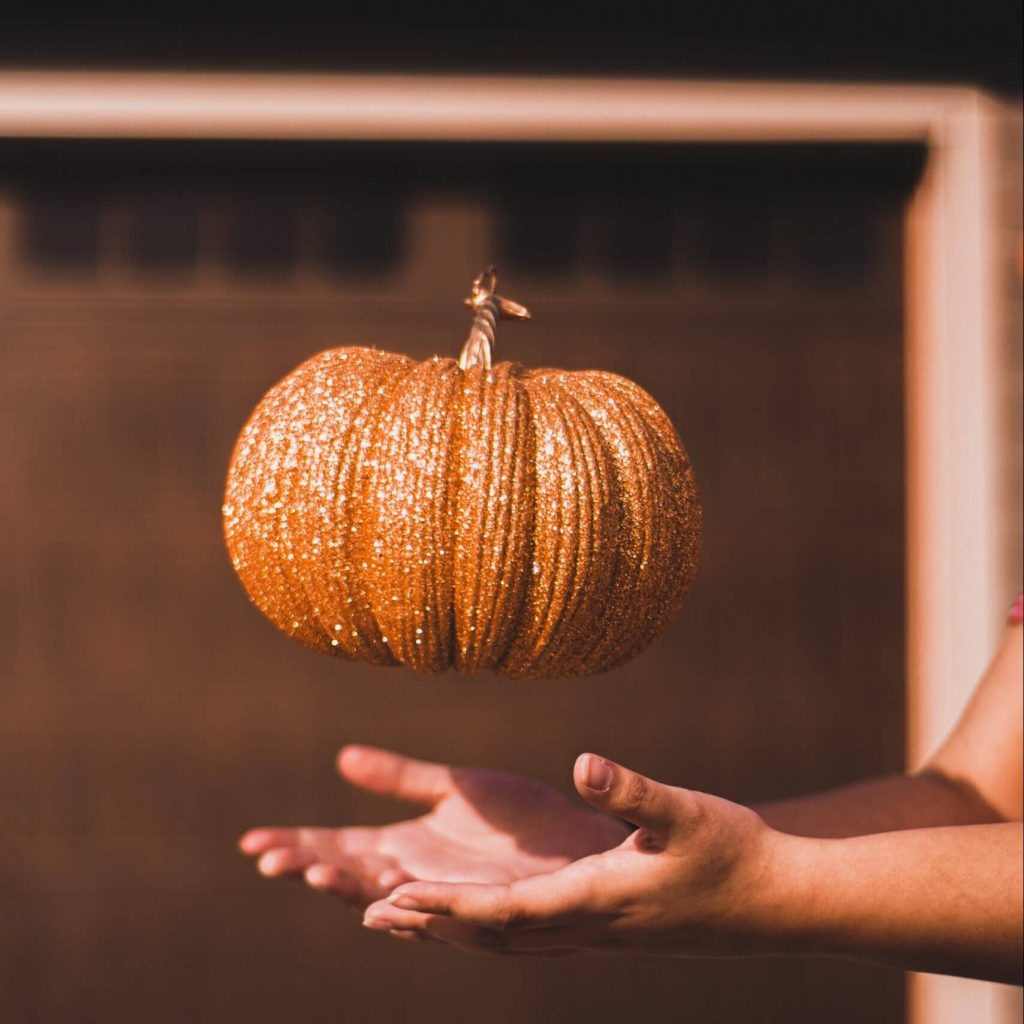
2. Glittery Gourds
For this craft, you can use real or fake gourds to make a truly dazzling centerpiece for your table. All you need is a few gourds (real or fake), glitter, rhinestones, glue, and metallic markers. Let your child decorate their gourd how they’d like. Make sure to lend a hand with the hot glue to avoid burnt fingers. After the glue has dried, have your child decorate their gourd with metallic markers.
3. Leaf Turkey
Since turkeys and leaves signify fall best, we thought it was only right to include a leaf turkey DIY. For this craft, all you need are a handful of leaves and a cutout turkey shape. Have your child color their turkey shape; however they choose, and then go out into the yard and pick up a handful of colorful leaves! Try finding unique leaf colors for a truly unique leaf turkey!
4. Leaf Suncatcher
Is your yard overflowing with leaves? If so, this is a fun, creative way to get rid of them. For this craft all you need is a paper plate, leaves from your yard (the brighter, the better), sticky back contact paper, pipe cleaners, scissors, and a hole punch.
The first step is to grab a handful of autumn leaves! Next, cut the center out of the paper plate. Then cut the contact paper into a circle to fit the size of the center of the plate. After you’ve started the beginning of your suncatcher, cut up a bunch of leaves. This part is fun because you can customize your leaves any way you want. Attach the leaves to the sticky part of the contact paper, punch a hole into the top, and hang in the sun.
5. Washi Tape Thanksgiving Banner
What’s a better way to celebrate Thanksgiving than with a beautiful holiday banner? All you need is probably already lying around your home, washi tape, paint chips, straws, and popsicle sticks. First, cut your straws into half-inch pieces. Then, using your washi tape, wrap the straw pieces. Using watercolor, paint your popsicle sticks any way you want. After they’re dry, glue the popsicle sticks to create a star. Do this three more times until you have four stars. Then, string your straw beads onto a line of string followed by your stars. Grab your paint chips and cut out letters to glue onto your string. Finish by gluing your letters and stars to your banner, and voila! You have a beautiful Thanksgiving banner.
6. Ombre Pinecones
If you have pine trees in your yard or neighborhood, then it’s likely you’ve seen a pinecone or two in the street or your backyard. Even if you don’t have access to real pinecones, every craft store has a floral foliage area where you can purchase fake pinecones for crafting. For this craft, gather real or fake pinecones, acrylic paint, an angled paintbrush, and an old toothbrush. Make sure you use your old toothbrush to clean your pinecones so that you don’t bring bugs or dirt into your home.
Now, it’s time to paint! I recommend starting from the bottom with your darkest acrylic paint and then working your way up to create a gradient effect. Paint ¼ of the pinecone scales and then work your way up, ending with your lightest color.
7. Handprint Kitchen Towels
Kitchen towels are one craft that always makes the perfect, sentimental gift for family members. You’ll need a white, woven kitchen towel, cardboard, acrylic paint, and paintbrushes for this craft. First, grab a child (or two!) and dip their hands in the light brown paint to create a handprint. This will be the base of the acorn. Then, with the dark brown paint, paint half-circles for the acorn cap. Add a little stem to complete the acorn.
For a more personalized gift, add a special message along with your handprints.
8. Oreo Turkeys
These cute turkeys are the perfect kids’ table treat for those picky eaters. I mean, who doesn’t love Oreos? You’ll have to hit the sweets aisle for these ingredients. You’ll need white chocolate chips, coconut oil, red food coloring, candy eyes, a pack of Oreos, butterscotch chips, and a bag of candy corn. In a microwave-safe bowl, add white chocolate, coconut oil, and a few drops of food coloring. Place the bowl in the microwave and heat it in 30-second intervals.
Add the melted mixture into a Ziploc bag and cut a hole to create a makeshift piping bag. Dot the backs of each candy eye with the melted chocolate and place onto the center of the Oreo to make your turkey’s eyes. Dot the back of the butterscotch chips to create a cute little beak. Pipe a red line beside the beak to make a gobbler. Then, finish your turkey off with some candy corn feathers. Add candy corn into the Oreo stuffing, point side down.
For more fun holiday crafts, follow along on ECLA’s blog!